Made in psp9
Supplies 
Unzip an load all tubes to psp and minimize - unzip brush to your
brush folder
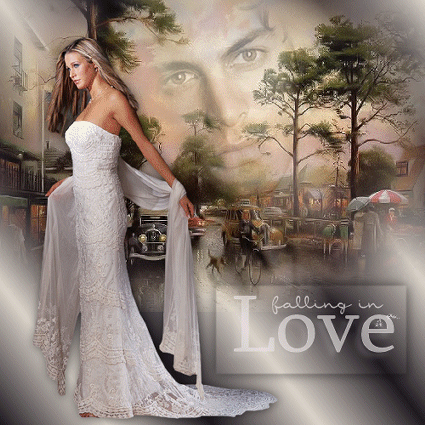
The Image " below you can use as "pointer" so you
know how far you are
New layer str 500 x 500 tranperant
find 2 colors from your tube
I used ece8e7 and 211b22 and make a gradient with these settings
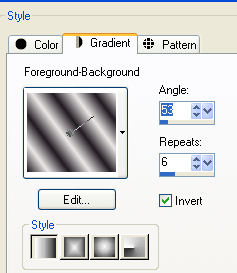
and floodfill your layer
Activatemann tube- copy and paste as new layer and move him a bit
up
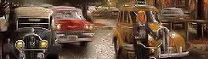
Activate tube SS Art 09 - copy and paste as new layer on your gradient
Move it towards top edge- see finished image
Activate lady tube and place her to the left
With your selection tool draw an rectangel and place it down to the
right
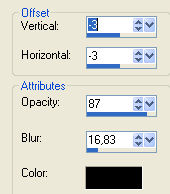
Add drop shadow
Set your forgroundscolor to f4f4f2
and find your brush text and set it in the rectangel
You can add your name/logo now if you want
Layers - merge all layers
Now for the animation
Edit - copy
Open AS - paste as new animation
Locate your animation
"hearts9"
Delete frame 1(the black one) and resize the animationen :
Resize:
Edit select all - Animation - resize
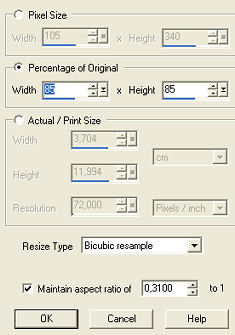
Animation - resize again - 3 or 4 times
Now the animation has 21 frames
so we must dublicate your image too-
Activate your image
edit - select all - dublicate - till you have 21 frames
edit - select all
activate animation
Edit - select all - edit - copy
back on your image - edit - paste into selected frame
place the animation in the middle of the letter "e" in the
word "Love"
Resize 1 time and you're done
I hope you liked this tutorial
Hanne