I made this in psp9
Supplies 
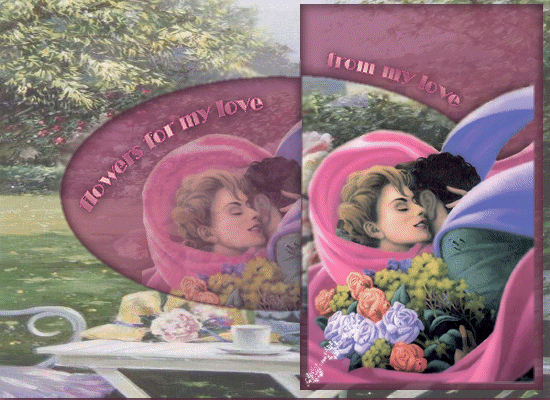
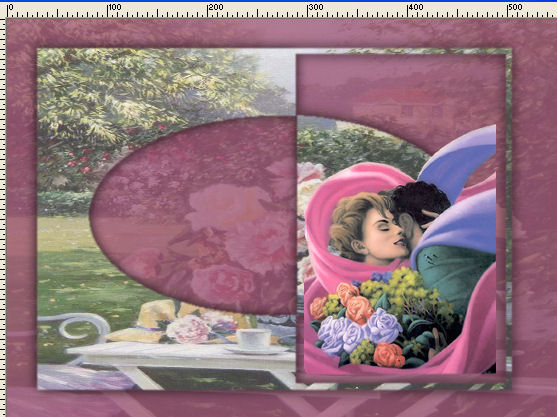
The Image " below you can use as "pointer" so you
know how far you are

Unzip and load tube and picture to psp
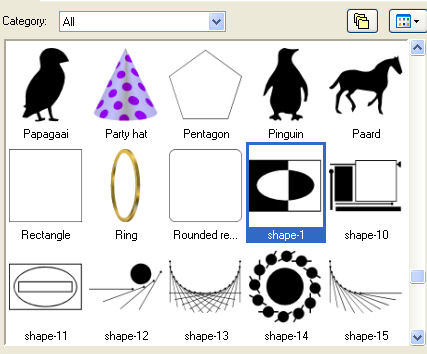
Preset shape to your Preset Shapes folder
New layer layer str 550 x 400 transperant
selection select all
activate flowerimage and paste into selection
Layers add new layer and floodfill with this color 9e5071
Activate your preset Shape tool and find mcHT-shape01
Close your forground color
Use your mouse to pull your shape over the image - let if fill as
you like
the whole pic or not untill your likeness
Layers Palette - rightclick on mouse- convert to raster
activate your magic wand - mode as /shift -
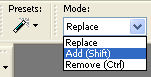
click and select the left side first in the colores area
and then in the oval part on the right
activate your flower image - copy
New layer - paste into selection and move the layer up in the top
Add drop shadow
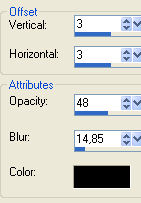
repeat Drop Shadow - this time - minus in vertical/Horizontal
Select none
Activate the tube hmo_tenderness - copy and paste as new layer
and place it like here
I think the edges of the tube looks a bit too hard, so lets soften
it a bit
Activate your soft brush tool
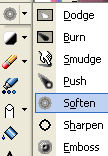
with these settings

Gently use the smoothener all the way round the edges
Add drop shadow - same as earlier
Dublicate your layer - move the tube into the oval preset
Lower opasity so you can see what you're doing
use lasso mode point to point - and delete
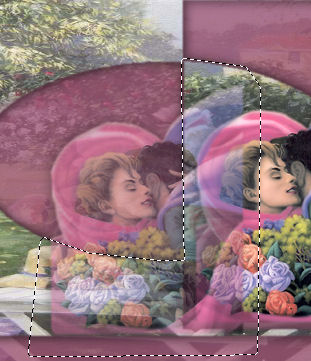
Lower opasity for ca. 50
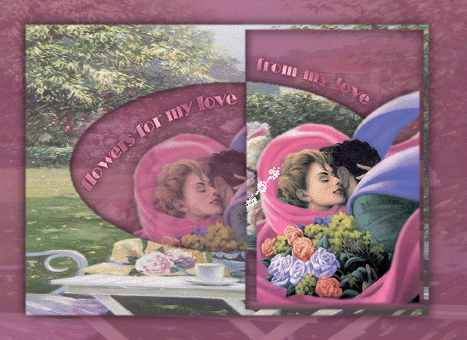
Activate the text tubes and place them where you like
OR write your own text
Layers - merge visible
Copy -
Open your Animationshop
- paste as new animation-
Dublicate until you have 21 frames of the picture
find the heartanimation and open it
Activate image - edit -select all
Activate the heart- edit - select all - copy
Activate the image- edit - paste into selected frames
place the heart - in the middle BUT remember the animation starts
from the bottom
Check the animation - Satisfied ? - then you're done
I hope you liked doing this tutorial
Here I've made a version where the Preset shape doesn't go all out
to the egdes
Hanne